How to Make a Free Personal Website (Creators & Students)
This post is a practical, step‑by‑step guide for creatives, students, freelancers, and early‑career professionals to build a free, no‑code personal website. It explains why a personal site matters, how to define a single goal, and which beginner‑friendly tools work best (Carrd, Google Sites, Wix, Notion, GitHub Pages, WordPress.com). It recommends a simple structure: hero, proof, action, plus an itemized workflow: inventory work, choose a platform, pick a template, write a clear headline, showcase 3 6 projects, make contact easy, test mobile, publish, and iterate. The post also covers design, copywriting, technical tips, SEO basics, when to upgrade, and a checklist to launch quickly.
Do you want a personal website where you can showcase your work, look authentic, and get a perfect single link for sharing? Then this is your destination. This post is for creative people, freelancers, students, and young professionals who want a simple, no, code personal website without spending money or learning to code.
I often make websites for my friends and also encourage students to create portfolios, so I have witnessed the common mistakes and small successes that really matter. This instruction guide is a practical walk, through, step by step. You will discover free personal website creation, content, free tools that are most effective, and how to dodge simple traps.
Why you should make a personal website
Social profiles are fine, but they limit what you can show. A personal website lets you control the story and collect everything in one place. Need a link in bio personal website for Instagram? Done. Want a free portfolio website to send to a client or recruiter? Easy.
What I find most useful is that a website acts as a single source of truth. It holds your work samples, your contact info, a short bio, and links to social accounts. That helps people get the full picture fast. For students, it's a way to showcase projects. For creators, it is a gallery and a business card all in one.
What a good personal website does
- Makes a clear first impression in a few seconds
- Shows your best work and how you think
- Lets people contact you easily
- Gives one reliable link to share on social profiles or resumes
- Can grow as your projects and skills grow
Pick your goal before you start.
Before you sign up for a tool, ask yourself one question: What do I want people to do on this site? That determines everything. Do you want visitors to hire you? To view your portfolio? To read your writing? To contact you?
Make your goal simple.
If you try to cater to everybody, your site will get cluttered.
Let's say you are a student applying for internships, your goal should be to make it really easy for the employers to find the portfolio and contact button
If you are a creator, your goal could be for the visitors to follow your social accounts and check out your top three projects.
Which free tools to consider
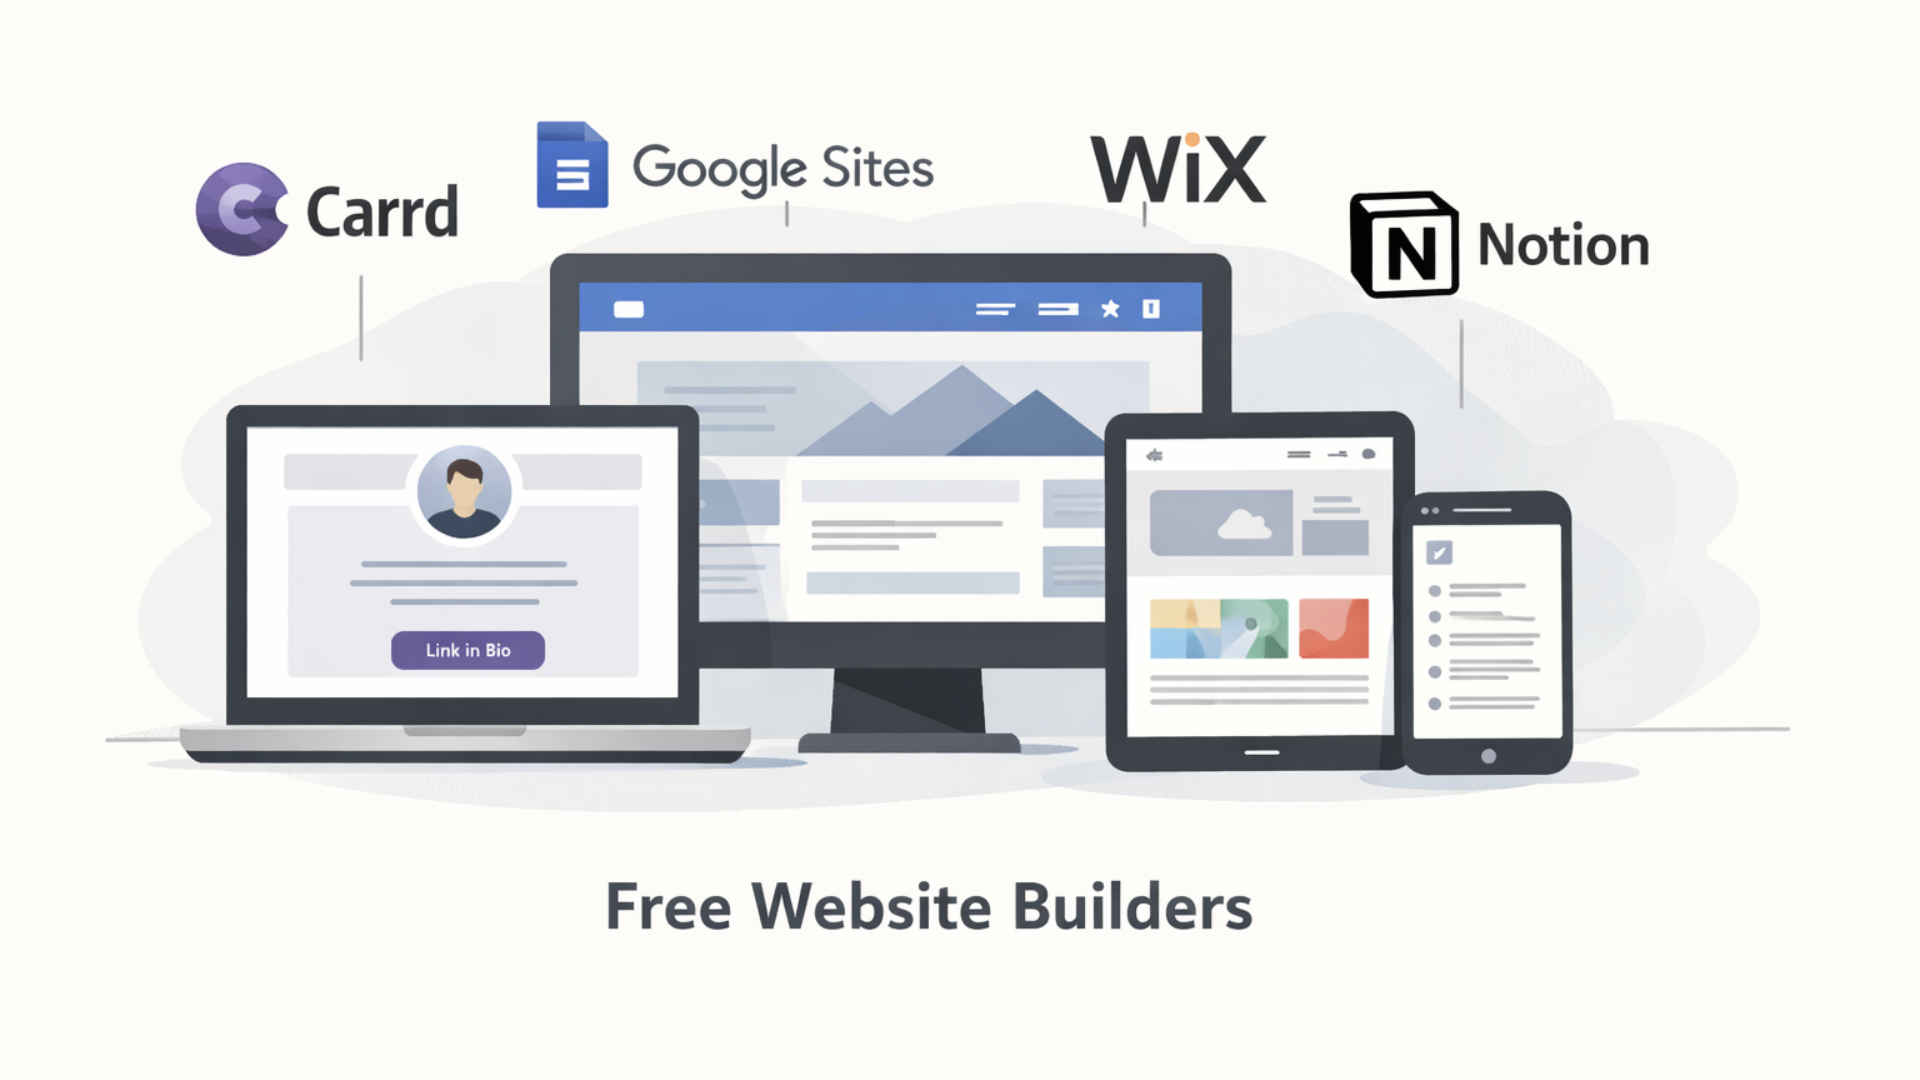
There are lots of free platforms. Each one has trade offs. I will list options that are friendly for beginners and let you create a personal website for free without code. Try one, and if you don’t like it, you can rebuild another in a couple of hours.
- Carrd: Great for clean single page sites and link in bio personal website. Super fast and easy.
- Google Sites: Simple multi page site with Google integration. No design hassle.
- Wix: Visual editor with free plan. Includes templates but shows Wix branding on the free site.
- Notion: Use it as a page and publish it publicly. It is fast to set up and looks like a digital resume or project list.
- GitHub Pages: Free hosting if you are comfortable copying a template. Slightly more technical, but still no heavy coding required if you use a ready made theme.
- WordPress.com: Flexible and widely used. The free plan has limitations and shows WordPress branding.
For most creatives and students, Carrd or Google Sites will get the job done quickly. If you want a single link in an Instagram or Twitter bio, Carrd is often the fastest and cleanest option.
How to structure your personal website
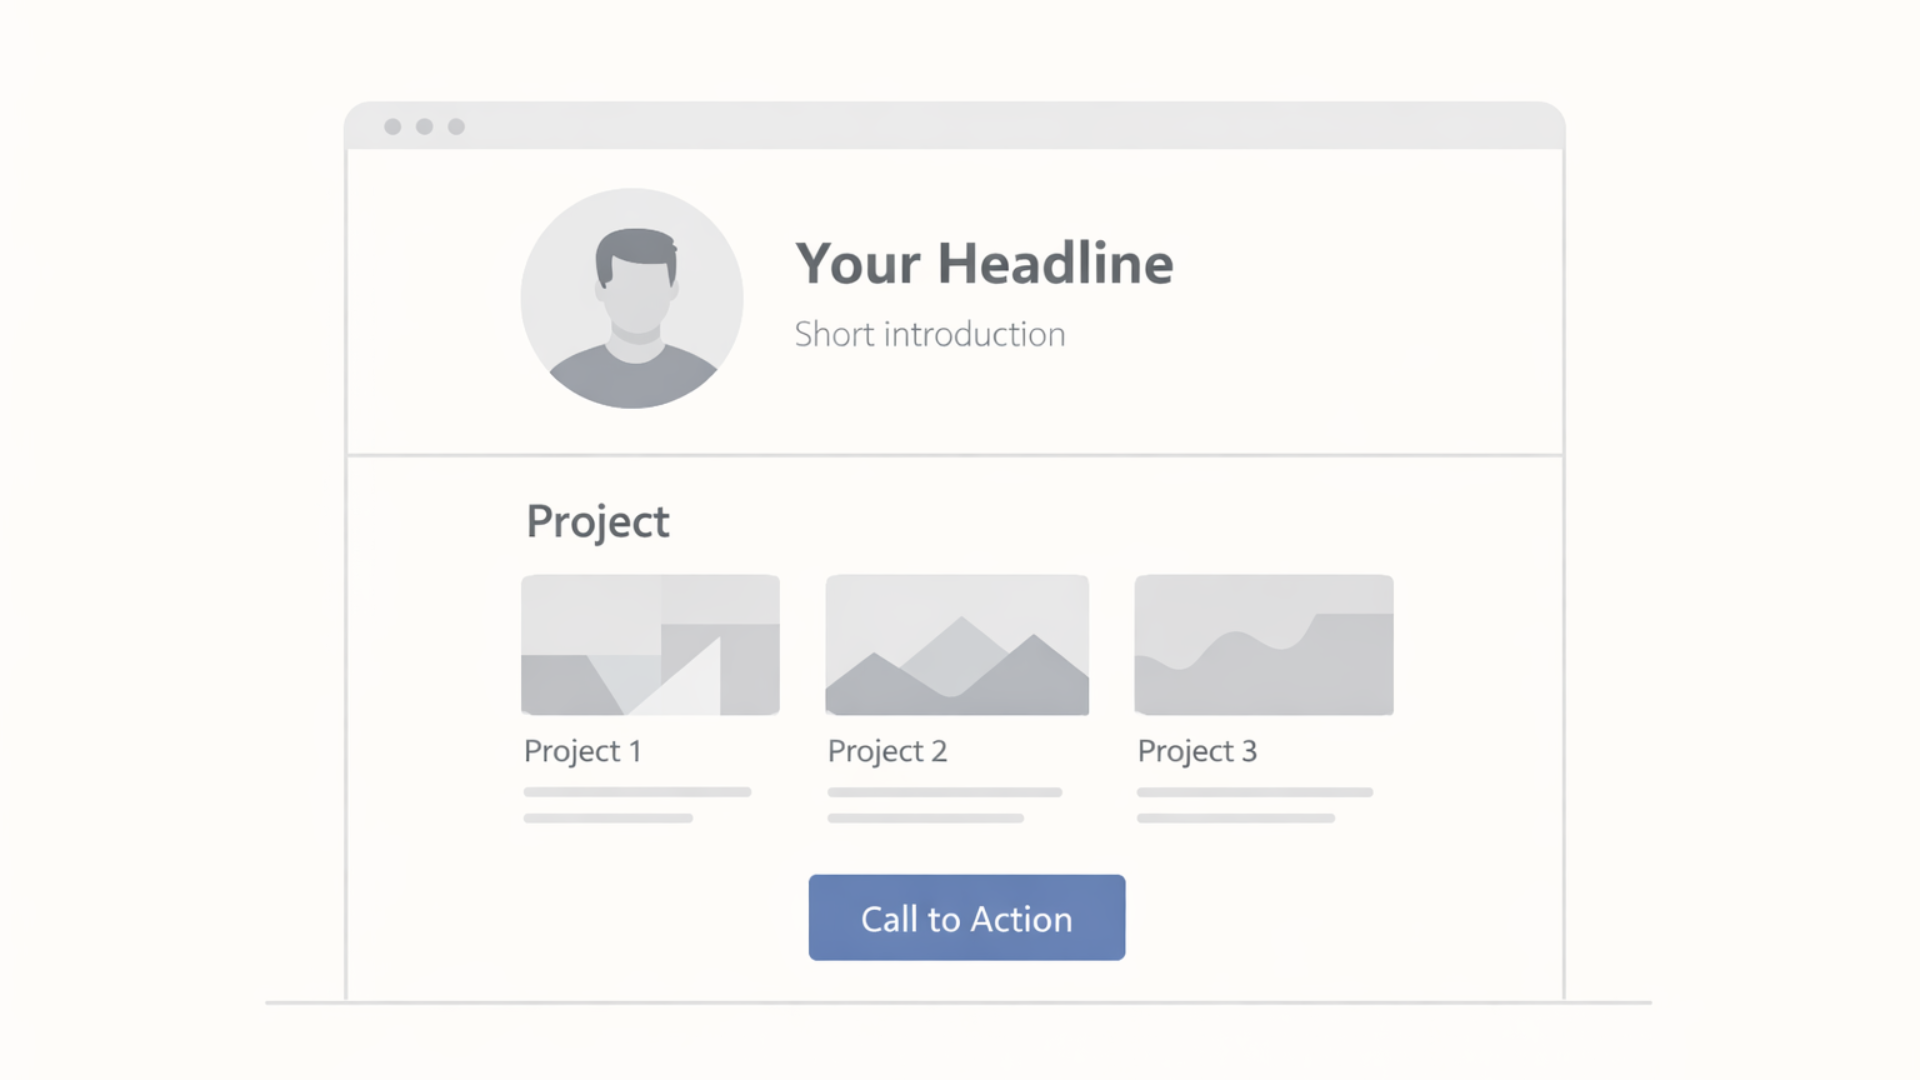
A simple structure helps visitors find what they need. I like to think of websites in three parts: hero, proof, and action. That gives you a clear layout and keeps things concise.
- Hero: A short headline, a one line intro, and a photo or logo. This tells people who you are in one sentence.
- Proof: Your best projects, work samples, or achievements. Show screenshots, links, or short descriptions.
- Action: Clear call to action. This could be a contact button, a link to download your resume, or a way to book time with you.
That structure scales. For a wider site, add pages for About, Projects, Blog, and Contact. For a link in bio personal website, compress everything into a single scrollable page.
Step by step guide to create a personal website for free
Follow these steps. You can finish a basic version in one afternoon. Then iterate and improve.
-
Inventory what you have
List your projects, images, links, resume, and social profiles. Pick 3 to 6 best things to show now. People remember a few strong examples better than many weak ones.
-
Choose a platform
Pick one of the free tools above. If you want a link in bio personal website, choose Carrd. If you need more pages, try Google Sites or Wix.
-
Pick a template and keep it simple
Start with a template that fits your goal. Change text and images first. Avoid lengthy customizations on your first version.
-
Write your headline
Make it short. For example: Product designer and illustrator. Or a Computer Science student building data visualizations. Add one sentence explaining what you do for whom.
-
Add your best work
Use screenshots, links, short descriptions, and key metrics if you have them. For a student project, mention the problem, what you built, and what you learned.
-
Make contacting easy
Add an email or a contact form. If you use a free plan that hides email, include a Contact button that opens an email draft or links to LinkedIn.
-
Set a site title and description
This is basic SEO. Put your name and role in the title, and a short sentence in the description so searchers see a clear summary.
-
Test on mobile
About half of the visitors will see your site on a phone. Make sure buttons are easy to tap, and text is readable.
-
Publish and share
Use the platform’s free subdomain or connect a custom domain later. Share the link in your social bios, on your resume, and in emails.
Simple copywriting tips that work
Your words matter. Most people skim. Use short sentences and bold the important part in your mind. Here are straightforward rules I use when editing student and creator sites.
Start with a brief headline describing your service and your target audience.
- Continue with a single sentence, which communicates your modus operandi or the end product you deliver.
- Use bulleted lists for accomplishments or skills. Limit them to one line each. Do not use technical terms, instead, use simple words. When possible, use plain English.
- Include one human detail. A quick sentence about what you like doing outside work makes you memorable.
Example headline plus one line:
Product designer helping startups ship usable interfaces. I focus on fast prototypes and testing so teams make fewer assumptions and ship sooner.
Design: keep it clean and usable
Designing a site is not about fancy effects. It is about hierarchy. What should people read first? Where should they click?
- Use one typeface for headings and another for body text at most. Simpler is safer.
- Choose one accent color and one neutral color. Too many colors look amateurish.
- Make headline text large and readable. People often scan the first 10 seconds.
- Use clear call to action buttons like View Portfolio or Contact me. Make them stand out visually.
- Use real images of your work. Mock ups are fine, but show the actual results when you can.
Small tip: I tell students, if you do not have great photos, use clean screenshots and a neutral background. That looks professional and keeps attention on your work.
What to include for creators
Creators often juggle many formats—audio, video, images, writing, or code—and tools like an AI video maker can help streamline content creation and presentation across platforms.Focus on a few strong examples that show your range and process.
- Show 4 to 6 highlighted projects with quick descriptions
- Embed or link to video or audio samples when relevant
- Add links to social profiles and platforms where you publish work
- Show testimonials or short client quotes if you have them
- Include a simple "Hire me" or "Collaborate" call to action
Example for a creator: include one high impact project with a short case study: the challenge, what you created, and the result. Keep it to two or three sentences and a few images.
What to include for students and early career pros
Students can turn class projects into a personal website that looks professional. Employers want to see ability and learning, not polished perfection.
- Show three best projects and describe your role clearly
- List tools and skills used for each project
- Add a short resume or link to a downloadable PDF
- Mention relevant coursework or awards, briefly
- Make your contact and LinkedIn easy to find
Don't worry about perfection. I have reviewed student portfolios where the simple, honest write up got more interest than a glossy but vague portfolio. People care about what you did and what you learned.
Examples of simple pages you can copy
Here are two sample outlines you can copy and fill in. Keep them short and specific.
Personal website for a creator
- Hero: Name, role, one line value statement, portrait
- Featured project: image, one sentence, link to details
- Other projects: thumbnails and one line each
- About: 3 sentences about background and what you enjoy
- Contact: email, social links, hire me button
Personal website for a student
- Hero: Name, student title, one line about what you built
- Top projects: 3 projects with bullets: problem, approach, result
- Skills: 6 to 8 keywords
- Resume: downloadable PDF or a link to LinkedIn
- Contact: email and availability for internships
Link in bio, personal website tips
If your main use is social profiles, keep it lean. People are clicking from Instagram or Twitter, and they expect fast choices.
- Create a short intro and a photo
- List 6 to 8 links with clear labels like Latest work, Hire me, Podcast, Resume
- Use icons sparingly. Labels help on mobile.
- Pin one link as priority for this month. Update it so repeat visitors see something new.
Platforms like Carrd and Linktree make this easy. You can also make a one page site on Google Sites or Notion and use that URL in your social bio.
Common mistakes to avoid
I wish I could count how many times I've seen these. They are easy to fix and cost you very little time.
- Too many projects on the homepage. Pick your best 4 to 6.
- No clear contact method. If someone wants to reach you, make it obvious.
- Writing that is vague or full of jargon. Replace it with plain English.
- Using low quality images that distract from your work. Take basic screenshots or crop tightly.
- Overloading the site with social widgets that slow the page down.
- Relying on a free subdomain forever without planning a brandable URL later.
Small fixes like improving a headline or swapping a blurry image can make a big difference.
Technical tips that actually matter
There are a few technical points that matter more than fancy design. These are quick wins, I tell everyone to check.
- Mobile first. Preview on your phone before you publish.
- Page speed. Large images slow things down. Compress them.
- Link check. Make sure external links open in a new tab and still work.
- Backup your content. Save a copy of the text and images locally.
- Analytics. Add a basic visitor tracker if the platform allows it, so you know what people look at.
When to move to a custom domain or paid plan
Free is great to start, but there are reasons to upgrade. I suggest moving to a custom domain when you want to look more professional or start freelancing seriously.
Reasons to upgrade:
- You want a brandable URL like yourname.com
- You need more pages or advanced features
- You want to remove the platform branding
- You need better analytics or forms
Custom domains are not expensive and give your site more credibility. I often tell students that investing in a domain is a small step that pays off.
Easy SEO tips that do not require an expert
SEO can sound complicated, but there are a few simple things you can do to help people find you.
- Put your name and role in the page title. Example: Jane Doe Portfolio Product Designer
- Write a short meta description using plain language. This appears in search results.
- Use clear headings. H1, H2, and short paragraphs help search engines understand your content.
- Share your site on LinkedIn and other profiles. Social sharing helps search visibility.
Focus on clarity, and you will get more traction than over-optimizing with keywords. If you want to target a phrase like create a personal website free use it naturally in a blog post or page describing how you made your site.
Keeping your site fresh
Make a small habit of updating your site every month. Add one project, swap the hero image, or update a link. Small changes show activity and keep you engaged.
Set a reminder to check analytics and remove broken links. If you land a new client, add the project and pull a couple of screenshots to highlight the result. I find that when people commit to small monthly updates, the portfolio stays relevant and grows nicely.
Examples that inspire
If you need inspiration, look for simple portfolios from people in your field. Search for personal website examples from other creators or students and focus on layout and content instead of effects. I often save three sites that I like and mix the elements that make sense for my own site.
Here are things to pay attention to when studying examples:
- How the hero section is written
- How projects are summarized and presented
- Where the contact information is placed
- How mobile friendly the site looks
How much time will this take?
You can make a basic version in a couple of hours. Here is a realistic timeline I recommend.
- Hour 1: Inventory your work and choose a platform
- Hour 2: Pick a template, write the headline, and add your top 3 projects
- Hour 3: Polish copy, add contact and social links, preview on mobile
- Ongoing: Monthly updates and improvements
That timeline is realistic. In my experience, the first version is the hardest. After that, small improvements come much faster.
Read more :
Free personal website checklist
- Clear headline that states who you are and what you do
- 3 to 6 strong projects or samples
- Short about section with one human detail
- Contact method that actually works
- Mobile friendly and fast images
- Site title and description for basic SEO
- Tested links and an analytics setup, if available
Final tips and common pitfalls I see
One mistake I see often is overthinking the design before the content is ready. Your content drives the design, not the other way around. Start with the content you have and make sure your message is clear.
Another pitfall is keeping an old subdomain forever. If you plan to use your site for job applications or clients, plan to buy a domain when you can. It makes a difference.
And remember this: done is better than perfect. A simple site that shows your best work and how to reach you will usually get better results than a perfect but unpublished portfolio.
Helpful Links & Next Steps
If you want help making your first site or improving an existing one, feel free to reach out. I have helped students and creators put their best foot forward, and I can help you, too.