How to Organize All Your Links in One Place
How to Organize All Your Links in One Place (Without the Headache)
If you're juggling social profiles, portfolios, storefronts, articles, and projects, your online presence can quickly turn into a spaghetti bowl of scattered URLs. I’ve been there — sharing the “wrong” link, losing track of a campaign URL, or realizing my portfolio didn’t match my latest work. It’s messy and it costs time and credibility.
This guide walks you through how to organize all your links in one place, the tools and tactics that actually work, and practical tips so your digital identity looks intentional. Whether you're a freelancer, creator, entrepreneur, or small business owner, you’ll find steps to build a reliable link hub that makes sharing, tracking, and updating links painless.
Why You Need a Single Link Hub
Short answer: convenience, clarity, and control. Long answer: when your links live in one place, your audience doesn’t have to guess where to find you, and you retain control over what they see first.
- Make a single shareable link that leads to everything important (think portfolio link, store, bookings, and content).
- Keep personal branding links consistent across platforms — your bio on Instagram, LinkedIn, Twitter, and email signatures should point to the same place.
- Track which links perform, and update them centrally (no more editing five bios across platforms).
I've noticed that creators who adopt a single link hub save hours every month. That extra time adds up — more time for creating, pitching, or serving clients.
Common Link Problems I See
Before we jump into solutions, let's be honest about the usual culprits:
- Scattered links across profiles and messages.
- Outdated links (old projects still at the top of the list).
- No way to measure which links bring traffic or conversions.
- Awkward bios with multiple links that confuse visitors.
- Link rot — third-party pages change or disappear.
These problems are especially painful for freelancers and small businesses. One wrong link in a pitch email can sink a deal. A missing portfolio item can confuse a potential client. Fixing this starts with a link management plan.
What a Good Link Hub Does
Think of a link hub as your digital business card — but smarter. A quality hub should:
- Act as an all-in-one link for your bio and profiles (the classic “bio link tool” use case).
- Organize by priority: highlight the most important links first.
- Provide analytics so you can see which links work.
- Allow quick edits so you can push updates instantly.
- Support integrations: newsletter sign-ups, booking forms, storefronts, and social embeds.
A bit of structure goes a long way. Organizing links online isn’t glamorous, but it pays off every time someone clicks your shareable link.
Step 1 — Inventory Your Links
Start with a list. You’d be surprised how many links hide in old emails, folders, and drafts.
Make a simple spreadsheet or note and include:
- Link URL
- Destination type (portfolio, blog, shop, booking, contact)
- Priority (high/medium/low)
- Notes (e.g., “use UTM for Instagram,” “expires in 2 months”)
In my experience, the inventory stage also reveals link duplicates and outdated pages. Clean those out now. Fewer links means less cognitive load for your visitors.
Step 2 — Decide What Belongs in Your Hub
Resist the temptation to dump everything into one page. Your hub should be curated.
Ask yourself:
- Who is this hub for? (Clients, fans, potential collaborators)
- What’s the top action I want visitors to take? (Hire me, buy a product, read latest work)
- Which items need to be evergreen and which are temporary?
Choose 6–10 main items for your primary view. Keep secondary links in a collapsible section or a dedicated page. A focused hub converts better.
Step 3 — Group and Prioritize
Grouping makes scanning easier. People scan first, read later.
Common groups:
- Work & Portfolio
- Shop / Services
- Contact & Bookings
- Social & Content
- Press & Credentials
Place your highest priority links at the top and consider using badges or short descriptors (“New”, “Popular”, “5-min consult”). Those tiny cues influence click behavior.
Step 4 — Choose a Link Organizer Tool
There are many ways to organize links online — from simple bio pages to full-featured link management platforms. You want a tool that’s flexible, fast, and easy to edit from your phone.
What to look for in a tool:
- Easy editing and drag-and-drop ordering
- Customizable appearance that matches your personal brand
- Analytics and click tracking
- Integrations for payments, forms, and embeds
- Reliable uptime and short load times
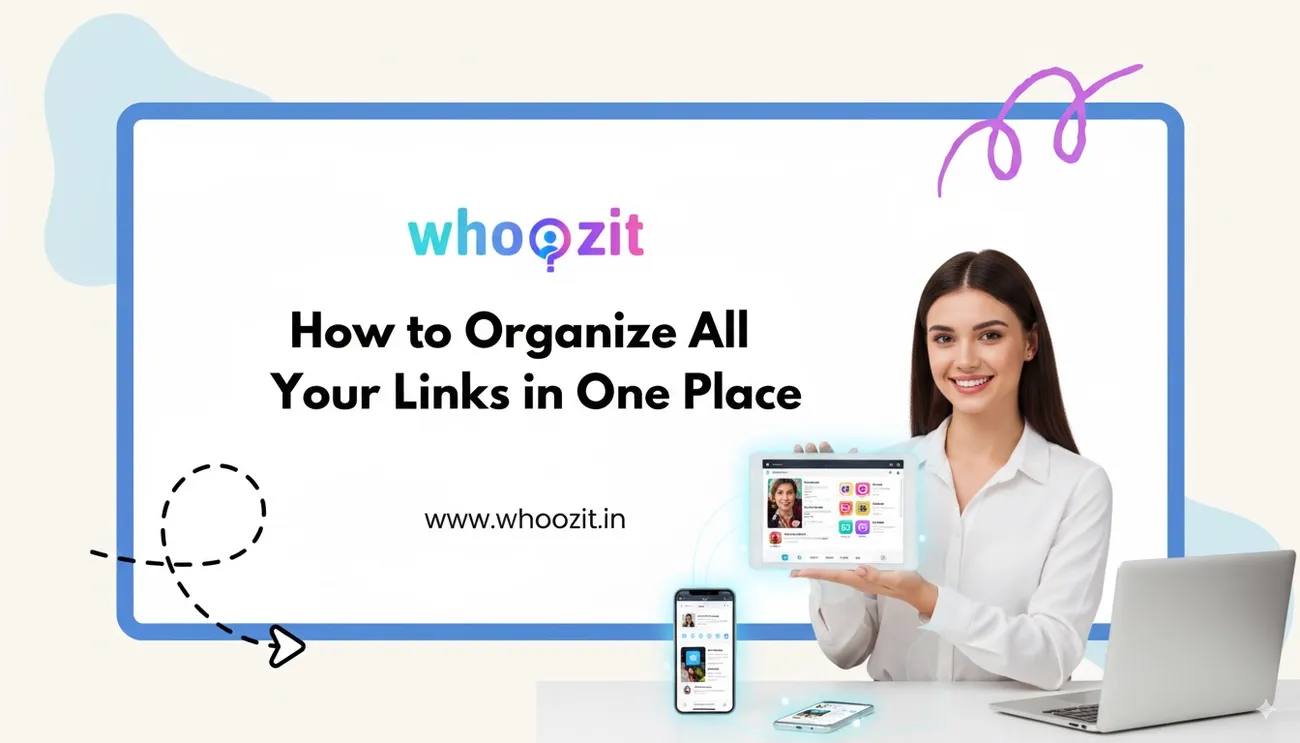
If you haven’t tried a dedicated link organizer, give Whoozit a look. Whoozit is built for creators and freelancers who need a clean, shareable link hub that’s simple to set up and manage. It supports portfolio links, personal branding links, and the typical bio link tool features — plus analytics and useful integrations.
Design Tips for a High-Converting Link Hub
Design isn’t just about looking good; it’s about guiding action. Here are practical design tips I use for my own hubs:
- Headshot + name + one-line bio at the top. Keep it human. People connect with faces.
- Lead with your primary action — a big button for your portfolio, store, or booking page.
- Use clear, action-oriented labels: “Hire Me”, “View Portfolio”, “Shop Prints”. Avoid vague phrases like “Click Here.”
- Limit typefaces and colors. Clean and consistent wins over flashy.
- Mobile-first layout. Most visitors are on phones — test on different devices.
- Include social proof: client logos, testimonials, or press badges (tastefully).
Short, punchy text beats long paragraphs. Scan-friendly content converts.
SEO, URLs and a Small Bit of Tech
Yes, your link hub is tiny, but you can still make it smart:
- Use a memorable handle in the hub URL (if possible). A short, branded path helps when you speak your link aloud on podcasts or videos.
- Add meta description and title if your tool allows. That helps search engines and link previews.
- Use UTM tags on campaign links to track where traffic comes from (I’ll show examples below).
- Shorten links smartly when you must, but don’t overuse URL shorteners that obscure destinations.
Example UTM for Instagram link:
?utm_source=instagram&utm_medium=bio&utm_campaign=summer_launchThat lets you distinguish Instagram traffic from Twitter or newsletter clicks in Google Analytics or your link tool’s analytics.
How to Write Good Link Labels
Labels matter. They’re tiny promises about what someone will find after they click.
- Be specific: “Brand Photography Portfolio” beats “Portfolio”.
- Use verbs when appropriate: “Book a Consult”, “Buy Prints”.
- If a link leads to a time-limited offer, say it: “Discount — Expires Aug 10”.
- Don’t mislead — your reputation is on the line.
I've noticed many creators use vague labels that drop clicks. Make the action clear and you’ll improve engagement.
Analytics — What to Watch
Clicks alone tell part of the story. Look at patterns and context:
- Top clicked links — what content draws visitors?
- Referrers — which platform drives the best traffic?
- Time-sensitive spikes — correlate with posts, emails, or ads.
- Conversion metrics — do clicks lead to sales or sign-ups?
Use analytics to iterate. If a link isn’t getting traction, try changing the label, moving its position, or promoting it in a new place. Simple A/B testing — like switching two buttons’ names — can reveal quick wins.
Maintenance — Keep Your Hub Fresh
Links age. Content changes. You need a maintenance plan.
- Weekly check. Skim for expired or broken links.
- Monthly review. Reorder links based on analytics and priorities.
- Quarterly refresh. Update visuals, add new work, remove old projects.
Set reminders. In my experience, consistency trumps perfection: small, regular updates keep a hub relevant more than noisy, infrequent redesigns.
Common Mistakes and How to Avoid Them
Let’s call out the traps people fall into.
- Overstuffing the hub. Too many choices paralyze visitors. Keep the top view curated. Use sections or a “more” link for extras.
- Neglecting mobile design. If buttons are tiny or text is long, mobile visitors bounce fast.
- Forgetting analytics. If you don’t measure, you’re guessing what works.
- Using inconsistent branding. Mismatched colors, fonts, or tone across your hub and profiles reduce trust.
- Breaking links during a campaign. Don’t change a destination mid-campaign without redirecting or updating UTMs.
Fix these and you’ll avoid a lot of unnecessary friction.
Examples & Mini Case Studies
Seeing how others organize their links helps. Here are three realistic setups I’ve used or recommended.
Freelance Designer — The Portfolio-First Hub
Goals: get hired, show work, share pricing basics.
- Top button: “View Portfolio — 5 case studies”
- Secondary: “Book a 15-min Intro Call” (Calendly integration)
- Lower section: “Shop templates”, “Client testimonials”, “Press”
- Analytics focus: which case studies drive most client inquiries?
This layout reduces friction for clients and prioritizes work that sells.
Creator / YouTuber — Content & Monetization Hub
Goals: push the latest video, grow newsletter, highlight merch.
- Top: “Watch the latest video” (video embed or direct link)
- Next: “Join my newsletter — free guide” (email capture)
- Then: “Merch shop” and “Patreon”
- Analytics focus: which platforms drive the most subs and merchandise sales?
Creators often rotate the top link with each new piece of content.
Small Business Owner — Services & Bookings Hub
Goals: intake customers, take payments, showcase services.
- Top: “Book a Service” (booking + payment)
- Secondary: “See pricing & packages”, “About”
- Lower: “Blog resources” and “Vendor sign-up”
- Analytics focus: booking conversions and referral sources
For businesses, linking to clear conversion steps is essential.
Advanced Tips: Redirects, UTM Strategy, and Split Testing
Once you’re comfortable with the basics, a few technical tricks can add serious polish.
- Use redirects for permanent moves. If you change a company URL, a redirect from the old one protects SEO and saved links.
- UTM naming conventions. Keep UTM names consistent: source=instagram, medium=bio, campaign=name. I prefer lowercase and hyphens for readability.
- Short-lived campaign links. Create temporary buttons for launches or promos and retire them after the campaign ends.
- Split testing. Try two label variants for a week and compare clicks. Small wording changes can have big effects.
These techniques let you optimize with data instead of guessing.
Integrations That Save Time
Good link hubs integrate with tools you already use.
- Booking systems (Calendly, Acuity)
- Payment processors (Stripe, PayPal, Gumroad)
- Email capture (Mailchimp, ConvertKit)
- Social embeds (Instagram, YouTube previews)
Integrations mean fewer clicks for visitors and less manual switching for you. A paywall or sign-up form inside your hub can increase conversions dramatically.
Privacy, Accessibility, and Legal Bits
A few small but important points:
- Respect privacy: if you collect emails, have a clear privacy policy link and opt-in language.
- Accessibility: use readable fonts, descriptive link labels, and alt text for images.
- Legal: if you sell, include basic terms and refund info where relevant. Don’t surprise buyers.
These smaller details build trust. Trust increases conversions.
When to Use Multiple Link Hubs
Sometimes one hub isn’t enough. You might want separate hubs for:
- Different audience segments (clients vs fans)
- Multiple business lines (design agency vs personal brand)
- Region- or language-specific audiences
If you split hubs, make sure each one stays focused and you don’t create maintenance overhead. Often, a single flexible hub with sections or filters is enough.
Checklist: Launch a Link Hub in One Afternoon
Here’s a simple step-by-step to get a functioning hub live quickly:
- Inventory your links (30–60 minutes).
- Pick 6–10 primary links and write short labels (20–30 minutes).
- Choose a tool and set up a page (30–60 minutes).
- Design header with photo and one-line bio (10–20 minutes).
- Add UTMs for campaign-specific links (10–20 minutes).
- Test on desktop and mobile, then publish (15 minutes).
- Share the hub URL across profiles and monitor analytics for the first week.
Take it one step at a time. You don’t need a perfect hub on your first try.
What I Wish I Knew Earlier
When I started experimenting with link hubs, I treated them like a static page. Big mistake. They’re living tools. Treat them like you treat your portfolio — update often.
Another thing: the label wording matters more than the color of the button. Test messaging before obsessing over aesthetics.
Quick Troubleshooting
Problems happen. Here’s how to fix common snags fast:
- Link not updating? Clear caches and check redirects are set correctly.
- Buttons look off on mobile? Check padding and line breaks, and reduce text length.
- Low clicks on main link? Test a new headline, move it higher, or add a small testimonial nearby.
- Analytics missing? Ensure UTM tags are in place and tracking is enabled in your tool.
Small fixes often restore clarity and performance quickly.
Final Thoughts
Organizing all your links in one place is a small project with outsized returns. It simplifies how you present yourself, reduces friction for visitors, and gives you control over how people discover your work.
Start with a simple inventory, choose a practical link organizer, and keep the hub focused on the actions you want visitors to take. Over time, track what works, prune what doesn’t, and you’ll have a powerful single link that represents your entire digital identity.
If you're ready to get started without wrestling with technical setup, tools like Whoozit make the process painless. They offer the essentials for creators and freelancers: a clean bio link tool, analytics, and integrations that let you manage personal branding links and portfolio links from one place.